August Wedding Gallery
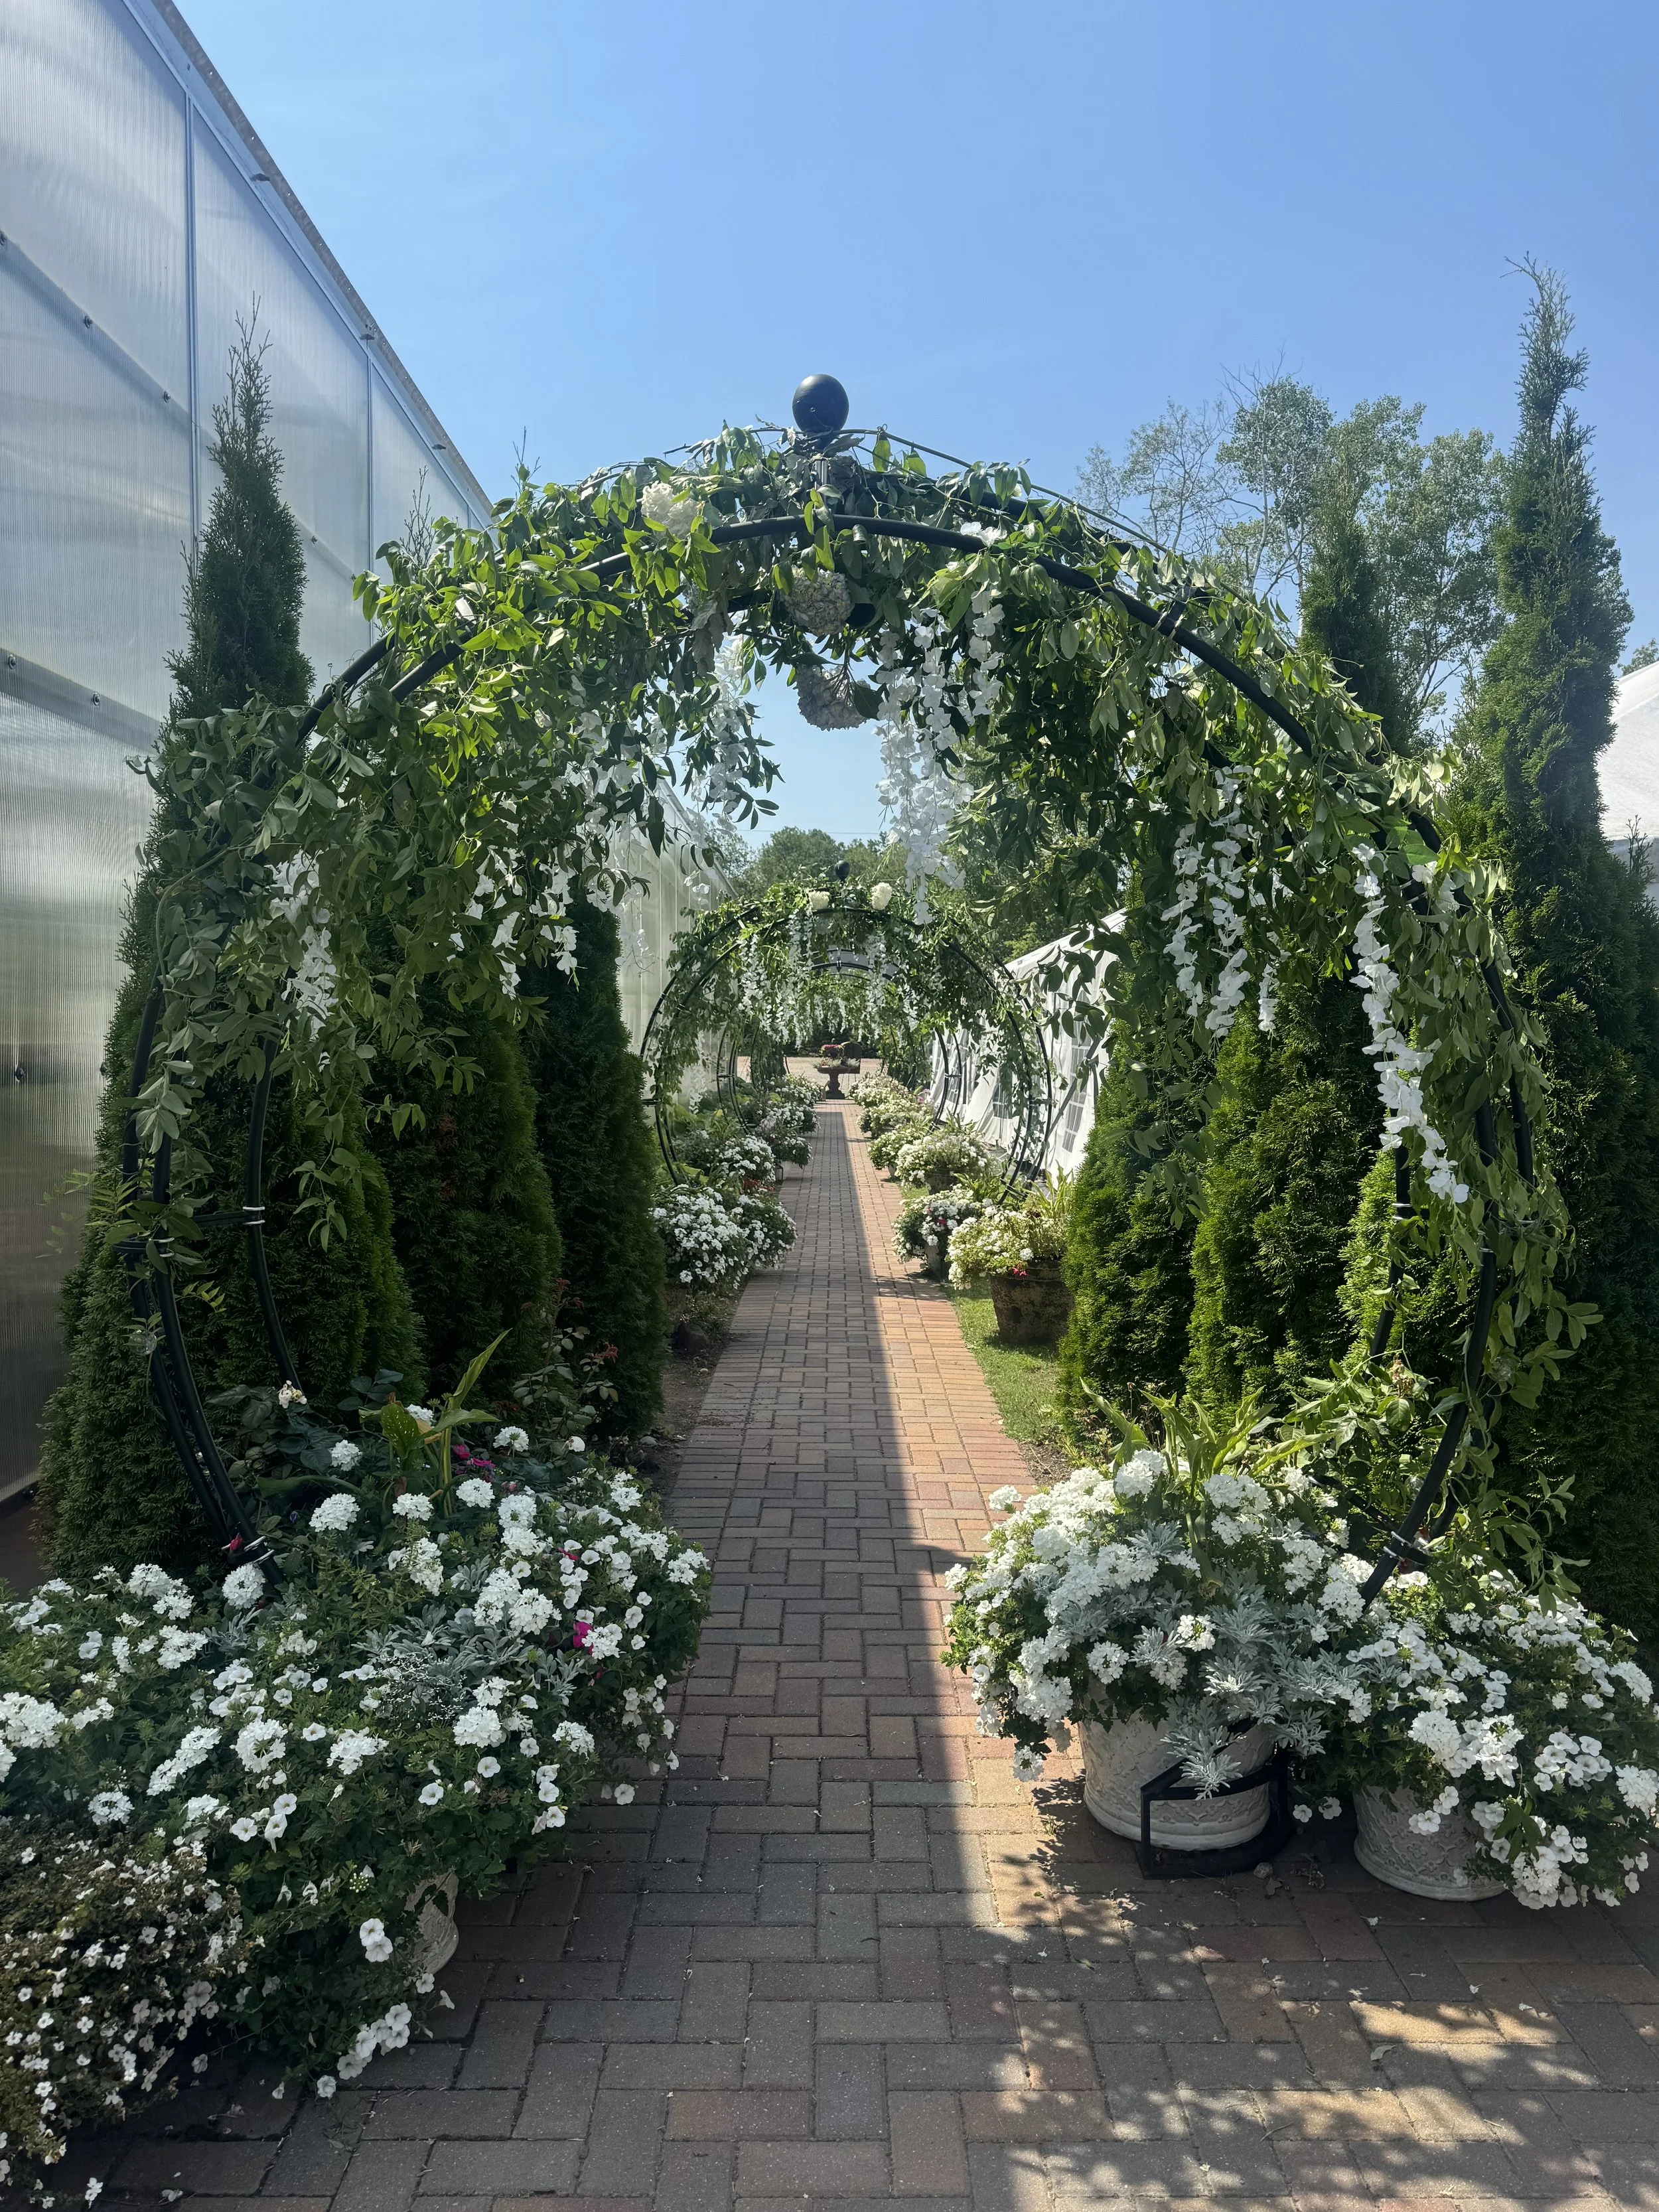
Photo Credit: Maggie Finwall
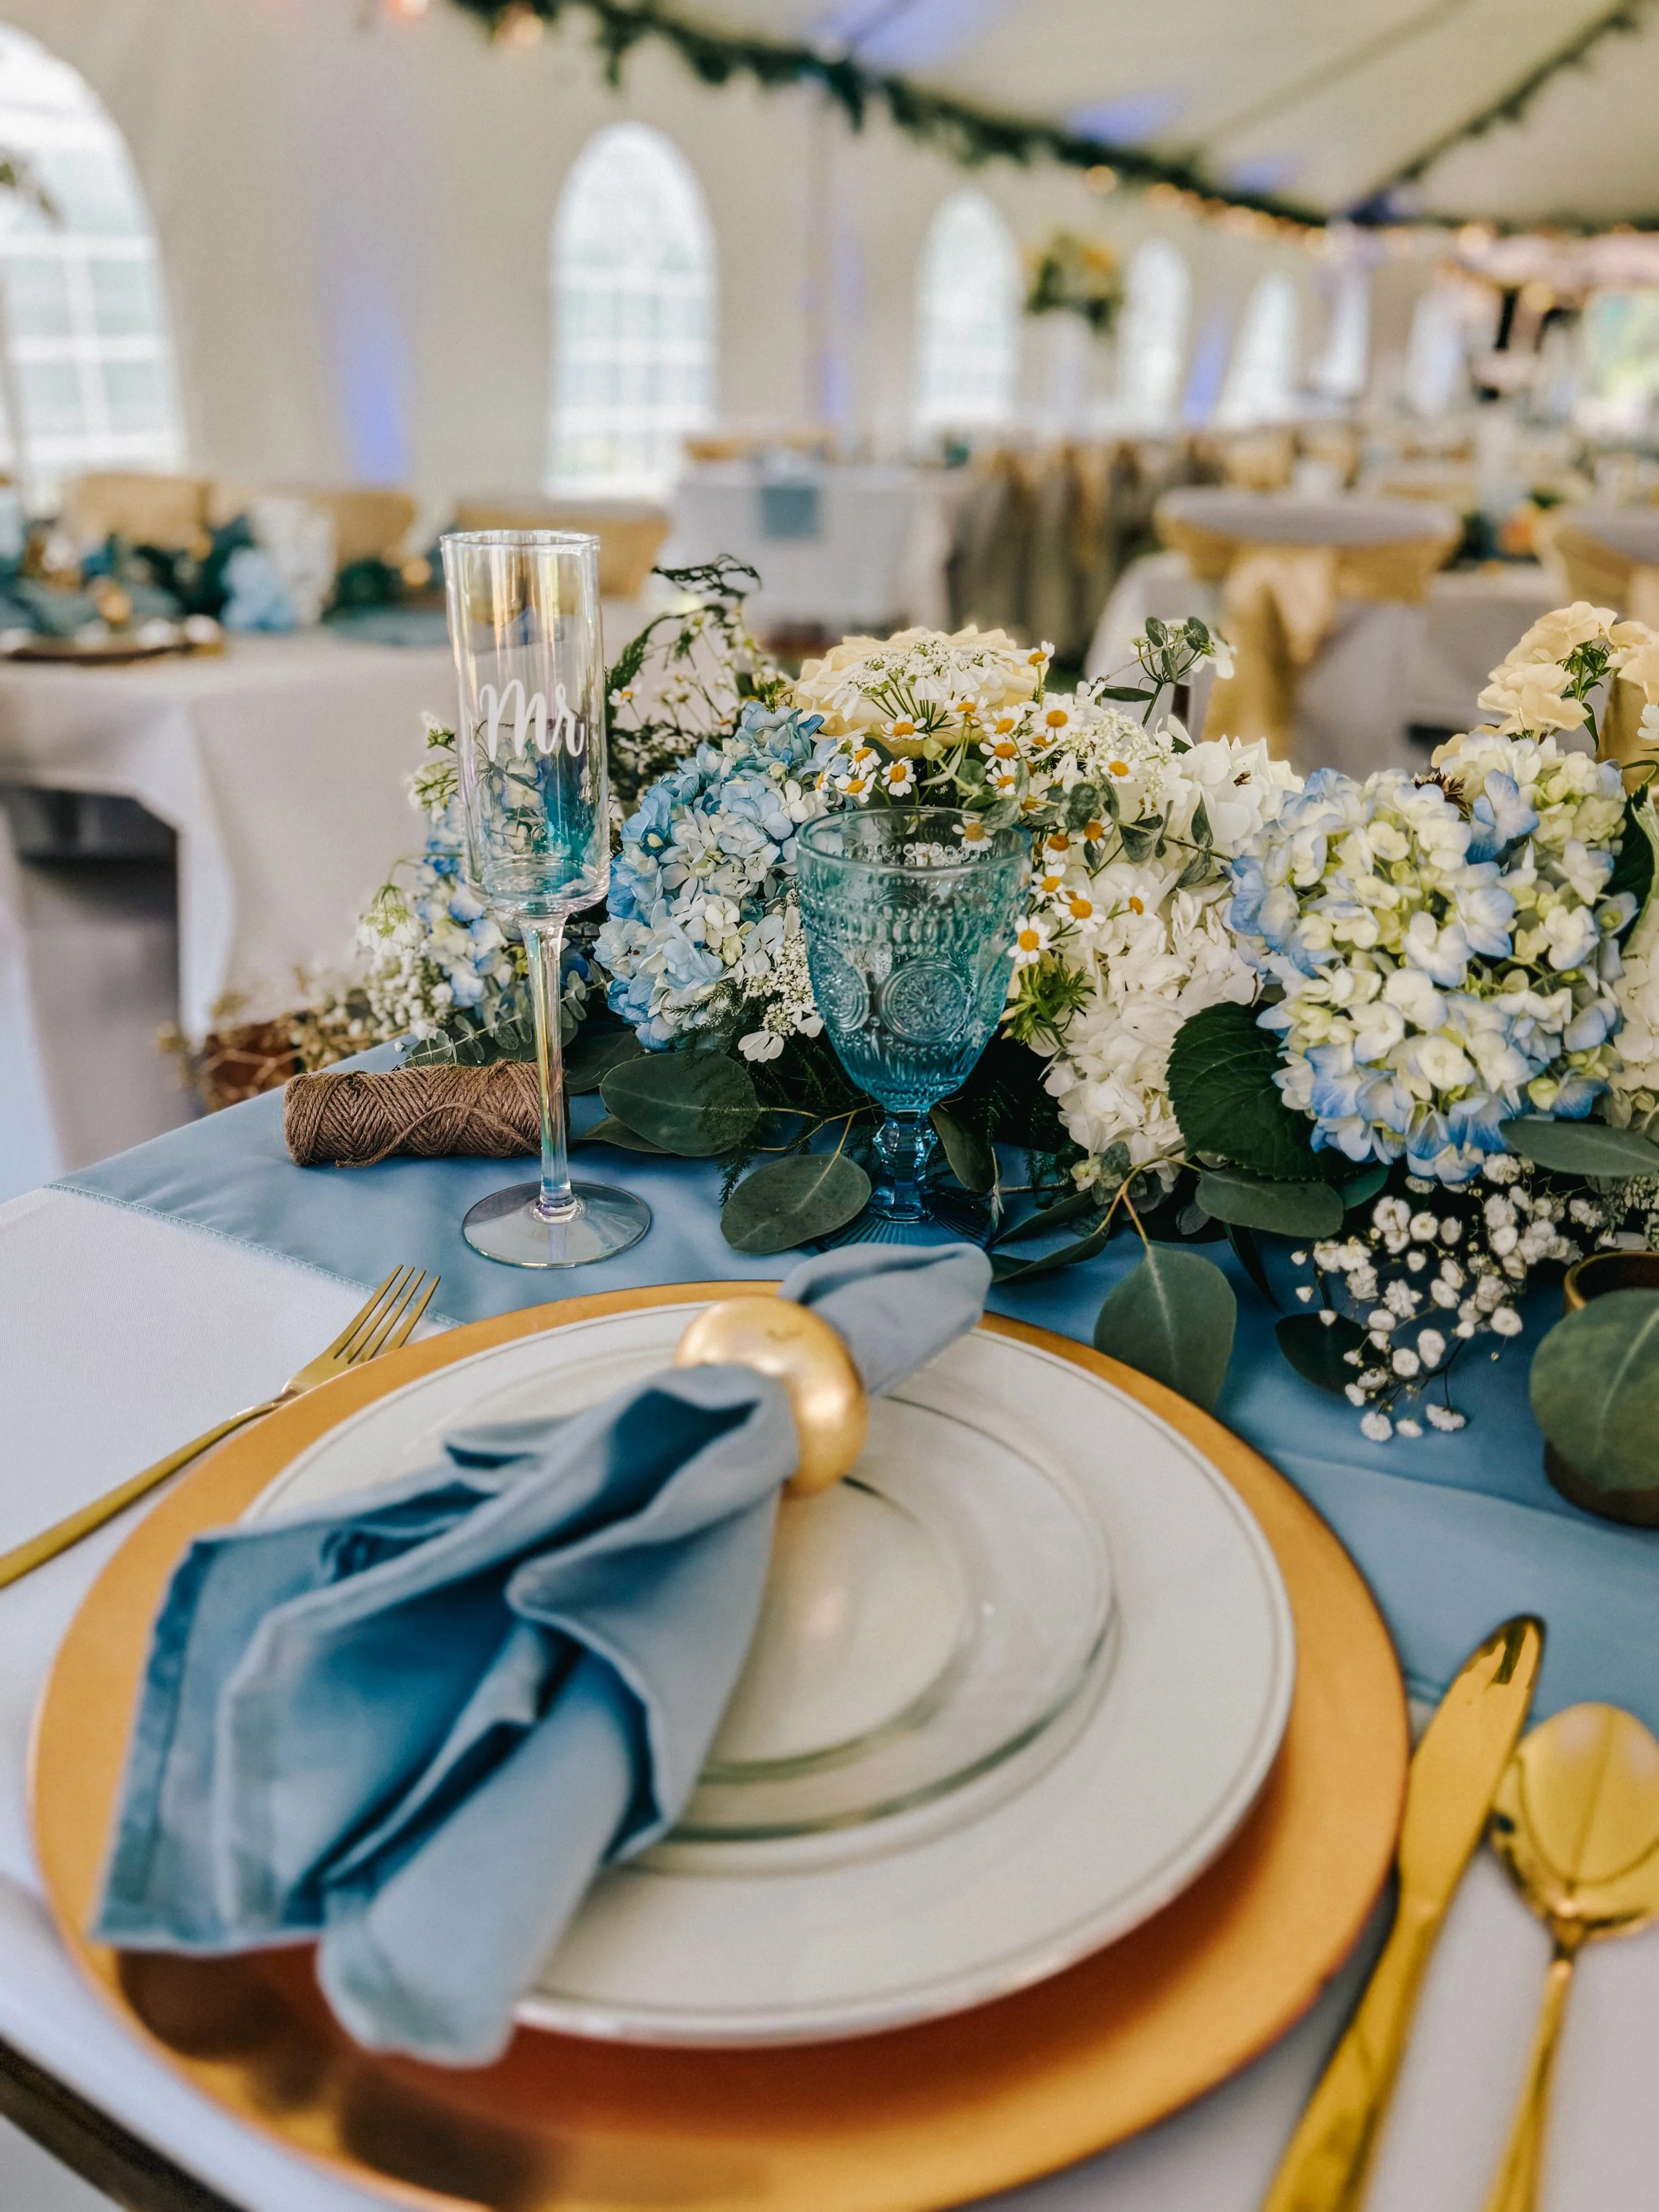
Photo Credit: Maggie Finwall
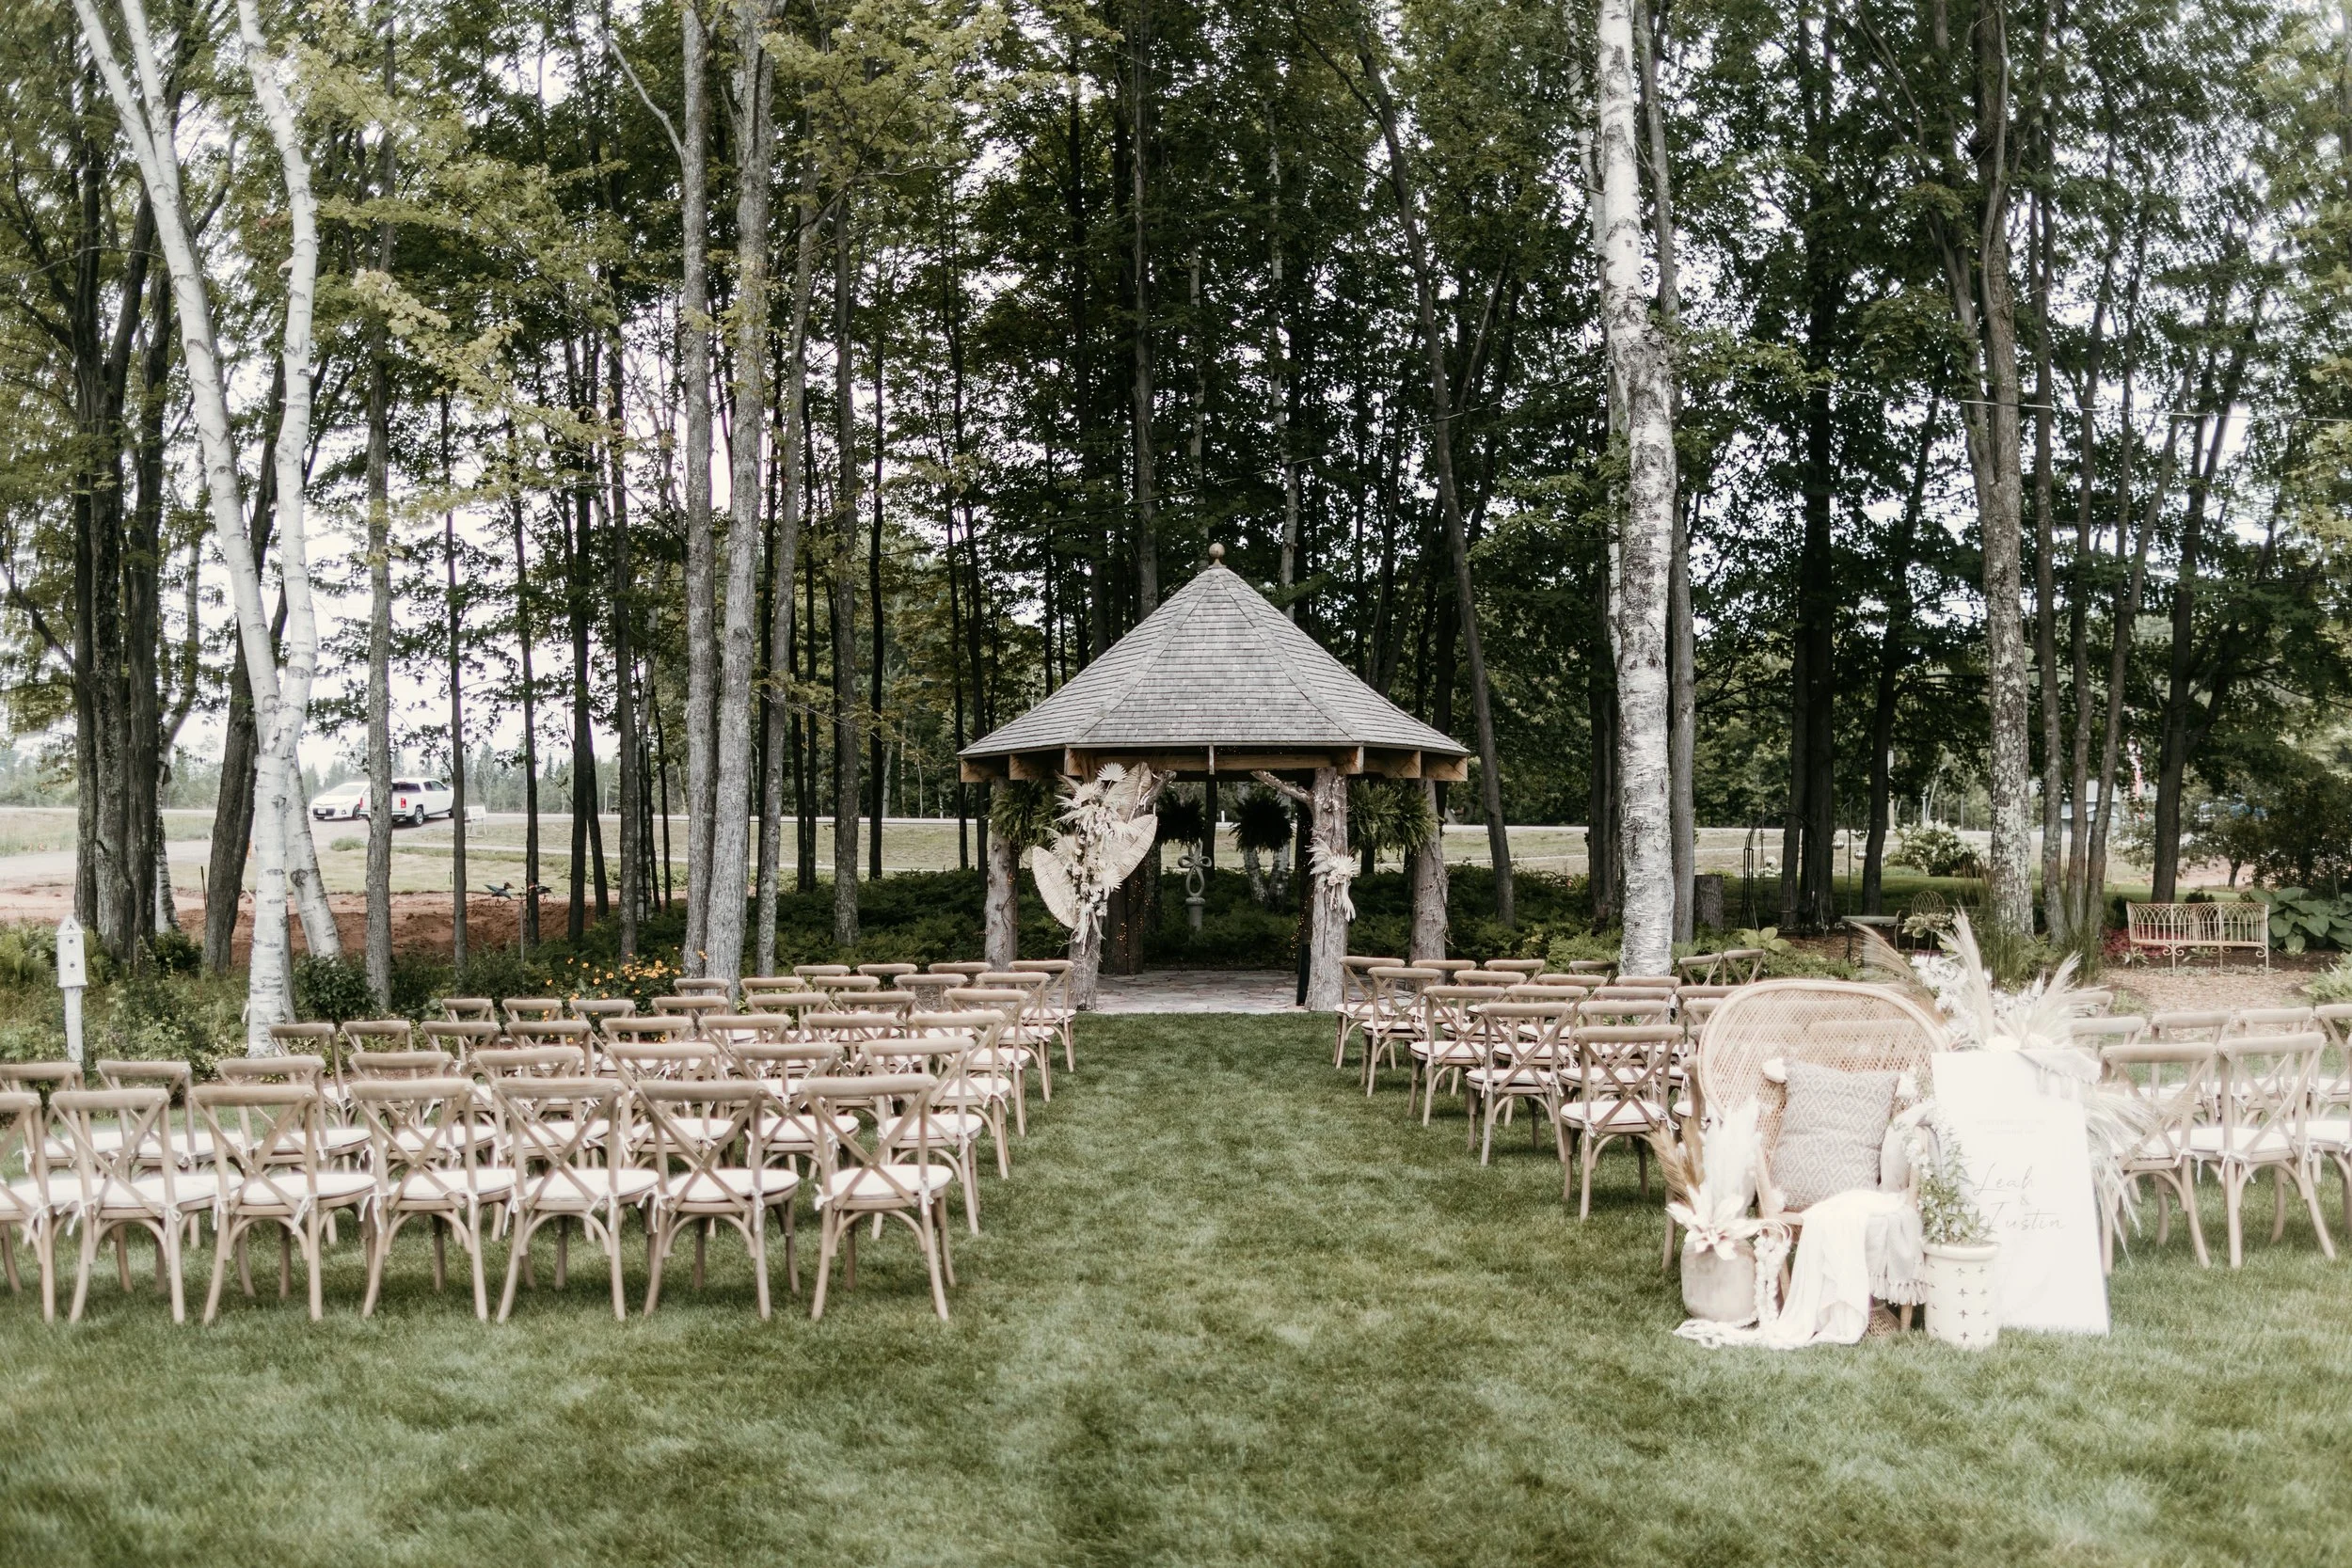
Photo Credit: Maggie Finwall
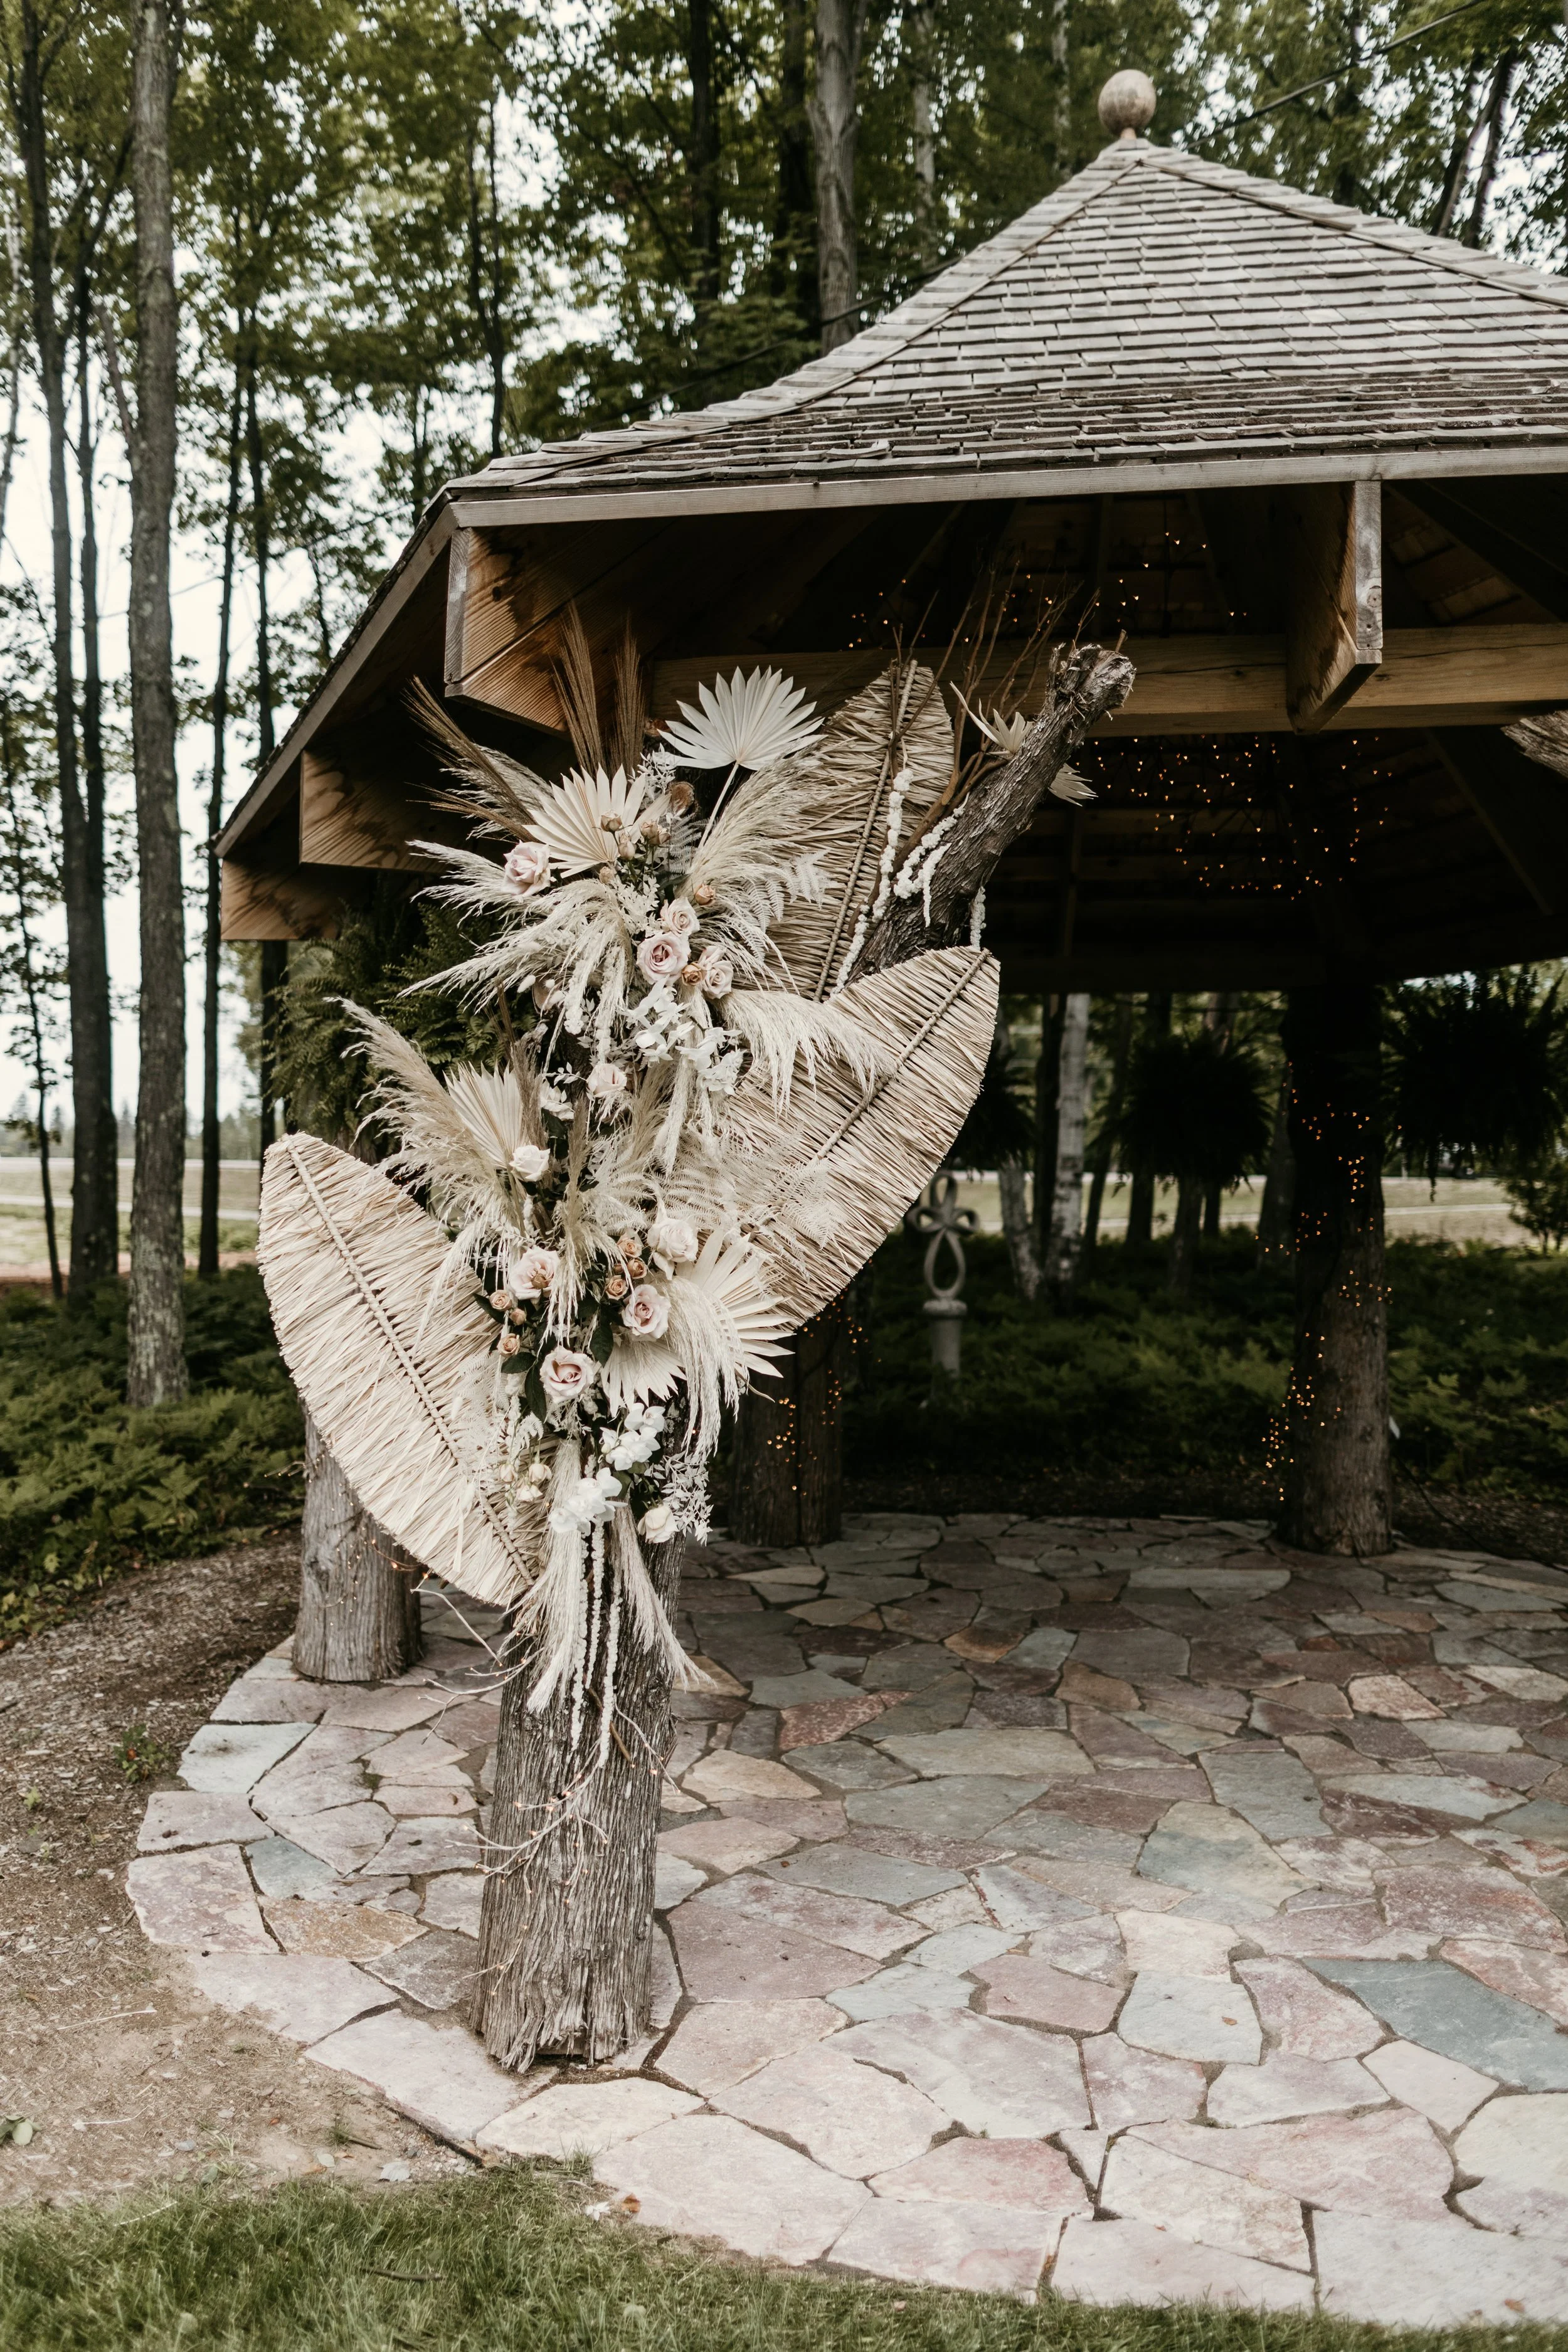
Photo Credit: Maggie Finwall
Photo Credit: Maggie Finwall
Photo Credit: Maggie Finwall
Photo Credit: Maggie Finwall
Photo Credit: Maggie Finwall
Photo Credit: Maggie Finwall
Photo Credit: Maggie Finwall